
Wednesday, January 19, 2011
Hurry to get this deal!
Not sure how long it will last but there is an Amazon $20 giftcard available today only for $10!! I just swiped mine up and there were already over 200,000 purchased! (6:30AM PST). It is on Living Social which is a site a lot like Groupon with a daily deal. Click here to get your giftcard now!!


Tuesday, January 18, 2011
Knitting the Day Away
Today was an AMAZING time! We met my mom down at Balboa Park and got to hang out with them for a few hours and then walk around down there. The parks are gorgeous!
Anyway I wanted to share some of my creations here lately. I am really in to knitting hats/beanies. I knitted the Eggplant or Grape hat awhile back and now I'm really getting into it! Today I finished a strawberry hat!


Anyway I wanted to share some of my creations here lately. I am really in to knitting hats/beanies. I knitted the Eggplant or Grape hat awhile back and now I'm really getting into it! Today I finished a strawberry hat!

This pretty one which I LOVE :) Turned out to be my fave!

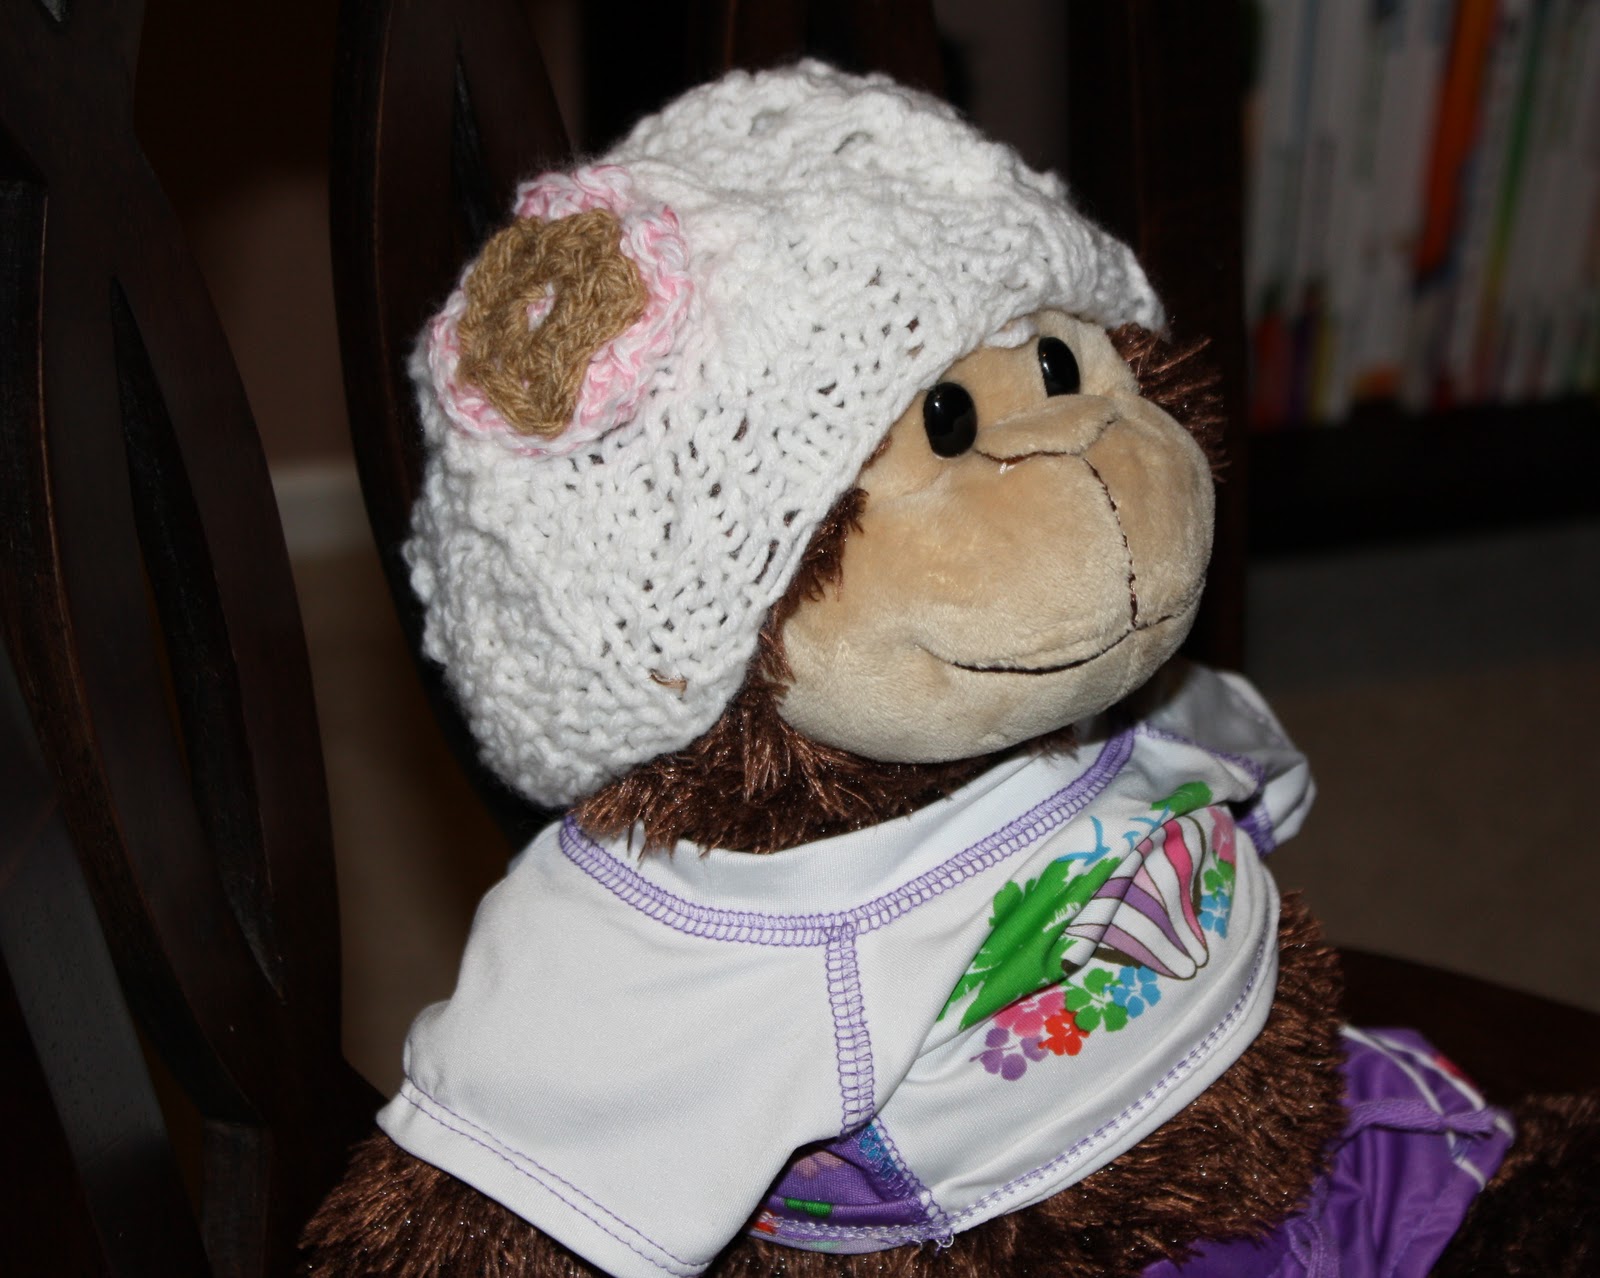
I am having a little insomnia right now (2:30 AM) so MY monkey wasn't awake to take pictures...plus I think these hats might be too small for her head as these are meant to fit an infant.
I am trying to put these beanies on Etsy. Does anyone know why it says my images are too big? Any help would be great!! Thanks!
Sunday, January 16, 2011
Gift for a friend
I made a gift for my really good friend for Christmas and only now can I post it since I didn't get to give it to her until this week!

This was a plaque that I got at Dollar Tree and spray painted over with primer and then black spray paint.

I printed out the words and got some nice scrapbook paper from my box full of pretty paper and set out to work.

The first try was a total bust. For some reason the paper got too wet from the Mod Podge so I had to scrape it off and start over. :( First try fail.

So here is the finished product. I ended up liking this scrapbook paper choice better than the one before anyhow! I used cardstock which is thicker and then it didn't rip once I used the Mod Podge on it.
So the message says:
BE STRONG IN THE LORD
NEVER GIVE UP HOPE
YOU'RE GONNA DO GREAT THINGS
I ALREADY KNOW!
GOD'S GOT HIS HAND ON YOU
SO DON'T LIVE IN FEAR
FORGIVE AND FORGET
BUT DON'T FORGET WHY YOU'RE HERE
TAKE YOUR TIME AND PRAY
Hope you like it Erin! :)
Muddy Buddies
So I was scrolling across Remodelaholic's website and she has a recipe posted there which made me think...hmm..yep got the ingredients...got a sweet tooth...let's do it! So I did. :)

Muddy Buddies
9 cups Wheat Chex (at least this way you get some fiber...)
1 cup Semi-sweet Chocolate Chips
1/2 cup Peanut Butter
1/4 cup butter
1 tsp Vanilla
1 1/2 cups Powdered sugar
9 cups Wheat Chex (at least this way you get some fiber...)
1 cup Semi-sweet Chocolate Chips
1/2 cup Peanut Butter
1/4 cup butter
1 tsp Vanilla
1 1/2 cups Powdered sugar

1. Measure Cereal and place in a large bowl, set aside.

Heart attack? Nahhh...we've got protein and dairy and chocolate (a food group of it's own of course!)
It's GOOD for you...
2. In a microwavable bowl, microwave chocolate chips, peanut butter and butter uncovered on High 1 minute; stir. Microwave about 30 seconds longer or until mixture can be stirred smooth. Stir in vanilla. Pour mixture over cereal, stirring until evenly coated. Pour into 2-gallon resealable food-storage plastic bag


Don't you love my Tupperware? No. Seriously...I do! My mother-in-law got these for monkey to play with! Mommy plays with them more though! Who doesn't love princesses?!
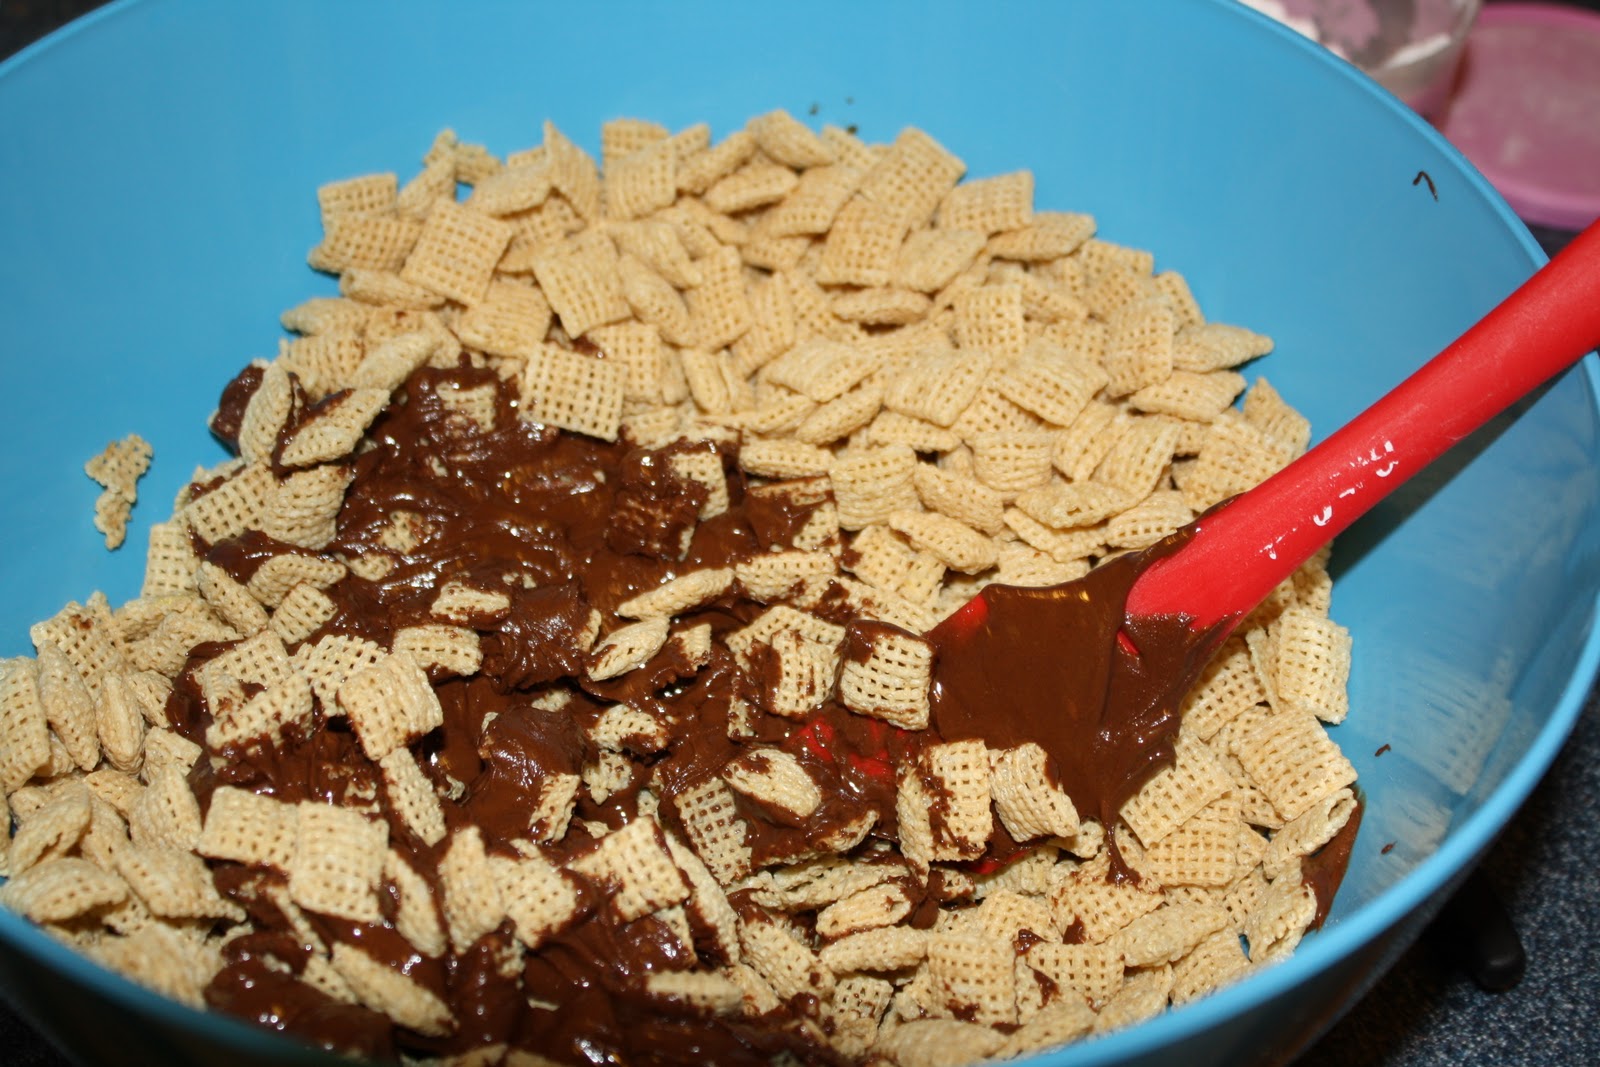
3. Add powdered sugar. Seal bag; shake until well coated. Spread on waxed paper to cool. Store in airtight container in refrigerator.
YUM!! Only took about 15 minutes. ENJOY!
Friday, January 14, 2011
Faux Metal Wall Art
So I just ran across this tutorial and I fell in love! Once I finally get unpacked and settled in our new house I have the perfect spot for something like this!! :) SO ADORABLE!! Check out Suzy's Artsy Craftsy Sitcom for the details on how to make your own!

Start with TP rolls

Cut and design them

Spray with spray paint

Hang on walls! How easy is that!!
Let me know if you make any! I would love to see how they turn out!!
Wednesday, January 12, 2011
Crockpot Refried Beans
I have been reading online about people trying to make their own refried beans and thought since we are working on saving money and budgeting I would try it since buying dry beans is a lot less expensive than the canned counterpart. The verdict-WE LOVE THEM!!! I got the bags of dried beans 2lbs for $1.97 and a couple onions for $0.50 (ish). So for a total of about $2.50 I was able to make over 2 lbs of refried beans!! Ok, so here is all it takes. I found this recipe at Dinner's Ready:


6 cups of dry pinto beans (rinsed)(or 2lb)
2 onions, peeled & halved
9 cups of water
10 t salt (for reduced sodium use 5 t salt which is what I did)
2 1/2 t pepper
4 T minced garlic
1/4 t ground cumin
Put all the ingredients in a crockpot and cook on high for about 8 hours. After they are done, drain all of the liquid out and SAVE THE LIQUID!! Mash beans with a potato masher or whatever you mash with. Add liquid, a bit at a time, to desired consistency, but remember you want them a little runny because they thicken over time.

Here is what mine looks like! :)?

This was my lunch today with leftover guacamole from the avocados I found on sale at Walmart this week :)...do you love the pink paper plate china? ha
Friday, January 7, 2011
Cinnamon Scones for breakfast
I made these for breakfast this morning! DELICIOUS!! We are still in Sacramento visiting family so I had to navigate around my step-mother's kitchen. But she was gracious enough to let me :-) Thank you Stacie! :) Here is the link to Money Saving Mom where I got the recipe and idea. I made one small alteration by using pumpkin pie spice in the glaze. It was amazing!!


Scone Ingredients:
2 cups flour
2 teaspoons baking powder
1/2 teaspoon baking soda
1/2 teaspoon salt
1/2 cup butter
1 egg, separated
3 Tablespoons honey
1/3 cup buttermilk (or 1/3 cup milk mixed with 1/2 teaspoon of lemon juice)
2 teaspoons baking powder
1/2 teaspoon baking soda
1/2 teaspoon salt
1/2 cup butter
1 egg, separated
3 Tablespoons honey
1/3 cup buttermilk (or 1/3 cup milk mixed with 1/2 teaspoon of lemon juice)
Crumb Topping (can be adjusted to your liking):
1-2 Tablespoons turbinado (or sugar)
1/2 teaspoon cinnamon
1/2 teaspoon cinnamon
Glaze Ingredients (can be adjusted to your liking):
1 cup powdered sugar
1-3 teaspoons milk (enough to make a glaze)
1/2 teaspoon vanilla (instead of vanilla I used pumpkin pie spice)
1-3 teaspoons milk (enough to make a glaze)
1/2 teaspoon vanilla (instead of vanilla I used pumpkin pie spice)
Preheat oven to 400 degrees. Combine flour, baking powder, baking soda and salt. Cut in butter until mixture is crumbly.
Separate the egg white and yolk. Set the egg white aside.
In a separate bowl, mix egg yolk, honey and buttermilk (or milk/lemon juice mixture). Add to the dry ingredients and stir until just combined.
Form dough into a ball on a floured surface. Roll or pat out to half an inch in thickness and eight inches in diameter. Cut into eight equally-sized pieces.
Transfer to a greased baking sheet. Whisk the egg white until froth forms and brush over the tops of scones. Mix turbinado and cinnamon together and sprinkle over egg-white-topped scones.
Bake at 400 degrees for 10 to 12 minutes.
Mix together powdered sugar, milk and vanilla until glaze forms. Drizzle over scones after they bake.


Monkey thought they were cookies :)

But she sure loved them!
I'd love to hear what great recipes you all have been making lately!
Sunday, January 2, 2011
New Years Day 2011
How was your New Years this year? What did you do? We had a fantastic New Years Day with my parents, Hubby and Monkey and my dad's hunting dogs up in the snow.


She totally reminds me of Christmas story here LOL. So cute!

It was completely a winter wonderland!!

Sledding with the dogs! They liked to stand right in the way. :-P Happy New Years everyone!!
Knitted Grape Hat

This was a quick project that took me about 2 hours. I just loved how cute it was to have my little grape head running around the house :-) I knitted it in the round with Red Heart soft purple 100% acrylic yarn. The green was misc. yarn my grandma gave me.

The link for the instructions for the hat are HERE although I'll say mine did not turn out like the picture. Not sure what I did differently but I like mine just as much.

I've been making a few other hats for a friend of mine that is due in March but my little Monkey's noggin is too big for the little one I made them for. ;-) I would love it to hear what you guys are up to?
Sunday, December 26, 2010
I'm back! With Oreo Truffles!
First I would like to apologize to everyone that I have been absent for so long. This move from Virginia Beach to San Diego right before Christmas was one of the most stressful things that we have ever done. It was hard to find a place to live and then now we have and we are leaving it to go up to Sacramento to visit the family for Christmas. Oh and I had a ton of things to make for presents...not to mention trying to find the right box that had my sewing supplies and material in it! We do LOVE our new place so the long hours searching were completely worth it since it led us to this place! I wanted to share a quick treat (really quick!!) that got rave reviews so far! Oreo cookie truffles! YUM!! So all I really wanted for Christmas was a food processor and while driving across the country we stopped on Black Friday and found my beauty (14 cup monster!) at Sears for $89!!
I first chopped up the candy mints for dipping.

Then, I cleaned the processor out and dumped in the bag of Oreos (in my case I did 2 bags since I made a double batch)


I used my hand mixer to mix in 2 blocks of cream cheese (one block for every bag of cookies)
Here is Monkey helping me clean off the beaters :)

I rolled the mixture into 1" balls and lined a baking sheet with wax paper. I plopped them onto the cookie sheet and put them into the freezer for 1 hour. When the balls were close to done I heated up candy chocolate in the microwave in 30 second increments until melted.

Toss the balls into the chocolate and pull them out with a fork so you can tap off the excess chocolate and then place them back onto the baking sheet. This is the time to use your toppings of choice before the chocolate hardens.

Awhile back I grabbed one of those multi topping shakers at Ross for ice cream toppings! So I just used those to make a variety. Ta Da! That easy! And let me tell you that these things are killer! I had to put them into the freezer (in a very hard to get into Tupperware) so that I didn't eat them ALL! Let me know if you try them and what you think! I love a no-bake every once in awhile!


Subscribe to:
Posts (Atom)